Rice Krispie Chocolate Chip Cookies: A Crunchy Twist on a Classic Treat!
Hey there, food lovers! Are you ready to embark on a delightful kitchen journey that combines two of our favorite treats into one unforgettable cookie? Today, we’re diving into the magic of Rice Krispie Chocolate Chip Cookies! If you’re anything like me, the mere mention of these cookies brings a smile to your face and a rumble to your tummy. So, don your aprons, roll up those sleeves, and let’s create something that’s sure to impress everyone from toddlers to grandparents.
I still vividly remember the first time I made Rice Krispie treats with my grandma. We had a blast mixing the gooey marshmallow concoction, and of course, there was plenty of taste-testing involved (is there any other way?). But when I discovered the joy of adding chocolate chips and incorporating the crispy texture of Rice Krispies into a cookie dough? Oh boy! My taste buds were taken on a rollercoaster ride of pleasure. It was as if someone had tossed all the candy-store delight into a baking pan, and each bite was a nostalgia-packed moment of joy.
These cookies are not just about flavor—they’re about the memories stirred up in the process of making them. The way your kitchen fills with a buttery aroma and the gleeful shouts of "Can I have one?" from your family—talk about heartwarming! So, let’s channel that nostalgia and whip up a batch (or two) of these amazing Rice Krispie Chocolate Chip Cookies that guarantee seconds, if not thirds!
Ingredients
Here’s what you’ll need to create these sweet, crunchy delights:
-
2 cups Rice Krispies cereal
These little gems add that signature crunch to our cookies. And here’s a pro tip: if you prefer a more substantial crunch, feel free to try out another puffed cereal like puffed rice or even a mix of your favorite crispy cereals! -
1 cup all-purpose flour
The backbone of any cookie, this gives structure. For a gluten-free option, substitute with a gluten-free flour blend. Just be sure to check if it has xanthan gum included! -
1/2 cup butter, softened
Butter is where the richness comes from! If you’re feeling daring or need to make it dairy-free, use coconut oil or a plant-based butter alternative. Just be sure it’s soft enough to blend in smoothly. -
1 cup brown sugar, packed
For that deep, molasses-like flavor, brown sugar is a must. You can swap in coconut sugar for a unique twist; it’s less refined and adds a subtle caramel note. -
1/2 cup granulated sugar
This brings the sweet factor up a notch! You can use sugar alternatives like monk fruit or erythritol if you’re cutting down on sugar, but adjust to taste as they can be sweeter. -
1 large egg
Helps bind everything together. If you’re vegan, use a flax egg (1 tablespoon of ground flaxseed mixed with 2.5 tablespoons of water and let it sit for a few minutes). It works like a charm! -
1 teaspoon vanilla extract
Ah, vanilla—the unsung hero of baking! It adds wonderful aromatic notes. For something different, try using almond extract instead, but use half as much since it’s more potent. -
1/2 teaspoon baking soda
This little leavener gives your cookies that soft chewiness. If you run out, baking powder can work in a pinch; just use more. -
1/2 teaspoon salt
Balances the sweetness and magnifies flavor. If you’re watching your sodium, consider a salt substitute or simply reduce the amount. -
1 cup chocolate chips
The star of the show! Classic semi-sweet chocolate chips are great, but feel free to get adventurous and try dark chocolate, white chocolate, or even butterscotch chips for a unique flavor spin.
Step-by-Step Instructions
-
Preheat the Oven
First things first, preheat your oven to 350°F (175°C). This is essential for proper baking! If you’re anything like me, you remember the chaos of trying to bake a cookie while the preheat light is still on. No rushing—just let it heat up! -
Cream the Butters and Sugars
In a large mixing bowl, beat the softened butter, brown sugar, and granulated sugar until they are light and fluffy. This should take about 2-3 minutes. You want it well-combined—you’re looking for that luscious, creamy texture that not only tastes fantastic but also makes baking a joy.Chef Tip: If your butter isn’t soft enough, just microwave it in 10-second intervals until it’s pliable, but don’t melt it! We want it soft, not liquid.
-
Add in the Egg and Vanilla
Crack that egg into your butter-sugar mixture and pour in the vanilla extract. Give it a good mix until everything is combined smoothly. This is where the magic starts to happen! If you’re using a stand mixer, it’s a breeze, but a good old-fashioned whisk or spoon works just as well. -
Combine Dry Ingredients
In another bowl, whisk together the flour, baking soda, and salt. Gradually add this dry mixture to your cookie batter. Mixing should be done gently—overmixing can lead to tough cookies, and let’s avoid that, shall we? -
Fold in Rice Krispies and Chocolate Chips
Gently fold in the Rice Krispies and chocolate chips. This is where it gets fun! The crunchy cereal paired with gooey chocolate creates a texture that is simply irresistible. It’s a bit of a workout, so embrace that arm strength! -
Scoop and Shape the Cookies
Using a cookie scoop or a tablespoon, portion out the dough onto lined or greased baking sheets. Make sure to leave some space between each ball—cookies spread when baking. If you want extra gooeyness, press a few more chocolate chips on top of each cookie before baking. -
Bake to Perfection
Pop those beauties into the oven for about 10-12 minutes, or until the edges are golden brown. The centers may still look a little soft, but they’ll firm up as they cool. Trust me on this!Chef Hack: If you love crisp edges, feel free to bake them a minute longer, but keep a close eye to prevent them from turning into hockey pucks.
-
Cooling Time
Once baked, remove them from the oven and let the cookies cool for about 5 minutes on the baking sheet. Then, transfer them to a wire rack to cool completely. This step is crucial for that perfect chewy texture!
Serving Suggestions
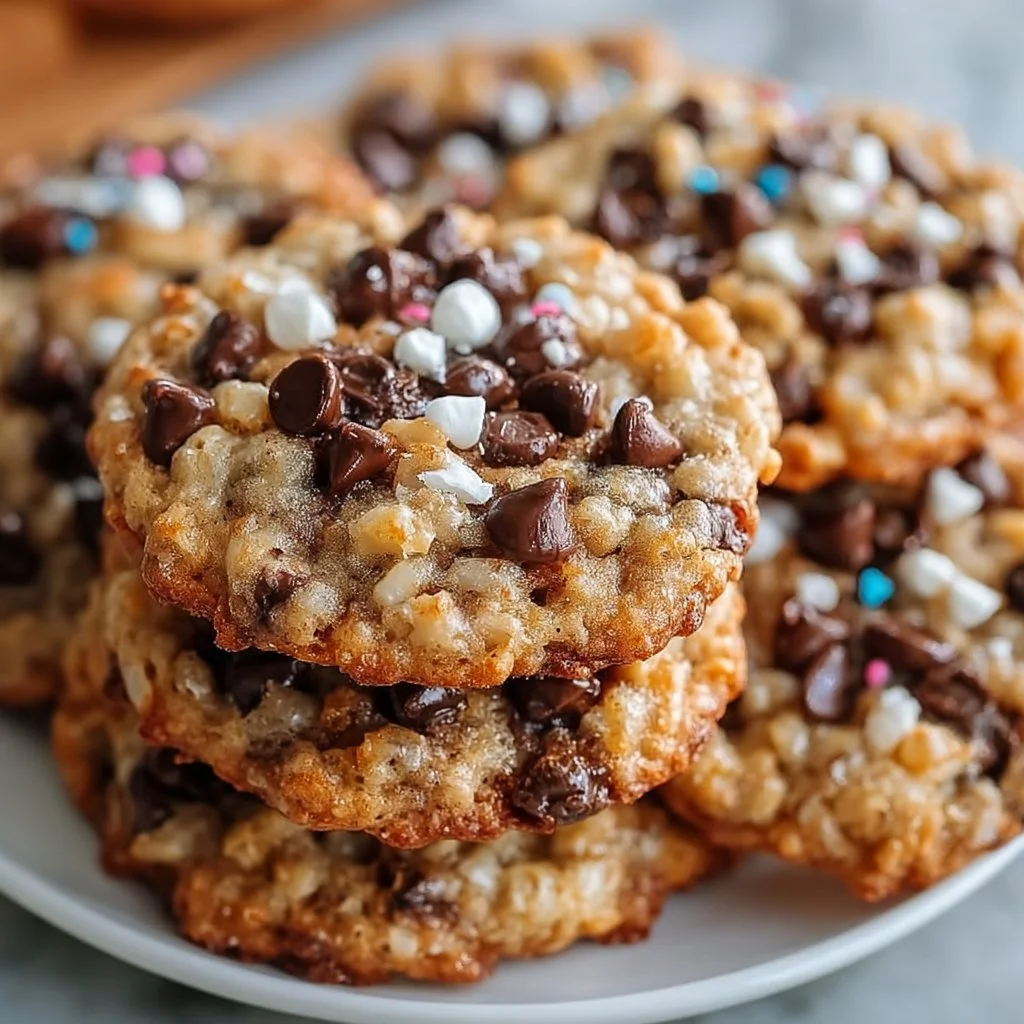
When it comes to serving these Rice Krispie Chocolate Chip Cookies, the possibilities are endless! I love stacking them on a colorful plate and serving them with a tall glass of milk or a scoop of vanilla ice cream. You could even sandwich a little ice cream between two cookies for a delightful treat that’s sure to wow at any gathering!
Recipe Variations
Want to switch things up? Here are a few fun variations you might enjoy:
- Nutty Additions: Toss in 1/2 cup of chopped nuts (walnuts or pecans) for added texture and flavor.
- Dried Fruit: Add 1/2 cup of dried cranberries or raisins for a tart contrast to the sweetness.
- Spiced-up Cookies: A pinch of cinnamon or a sprinkle of nutmeg can really elevate these cookies’ flavor profile!
- Seasonal Flavors: Swap out the chocolate chips for seasonal candies—think candy corn for Halloween or peppermint for the winter holidays!
Chef’s Notes
I can’t help but chuckle recalling my first attempt at these cookies. I was so excited that when I folded in the Rice Krispies, I may have miscalculated and ended up with a giant bowl of cereal with a little dough mixed in (oops!).
Over the years, I’ve perfected this recipe, fine-tuning the ratios until I found a balance between chewy and crispy that leaves everyone coming back for seconds.
FAQs and Troubleshooting
What should I do if my cookies spread too much?
Over-mixing or using too much butter can lead to overly spread cookies. Try refrigerating your dough for about 30 minutes before baking next time to help combat this.
Why are my cookies hard instead of chewy?
Hard cookies usually result from overbaking or too much flour. Make sure to measure the flour correctly—scoop and sweep rather than packing the flour into the measuring cup!
Can I freeze the cookie dough?
Absolutely! You can freeze the dough for up to 3 months. Just make sure to wrap it tightly in plastic wrap and place it in an airtight bag. When you’re ready to bake, just let the dough thaw in the fridge overnight and bake as directed.
What’s the best way to store these cookies?
To keep your cookies fresh, store them in an airtight container at room temperature for up to one week. For longer freshness, you can freeze baked cookies too!
Nutritional Info
Note: Nutritional values may vary based on specific ingredients and brands used. Always check for accurate dietary information.
- Serving size: 1 cookie
- Calories: ~150
- Fat: 7g
- Carbohydrates: 20g
- Protein: 2g
- Sugar: 10g
So there you have it! A chewy, crunchy twist on the classic chocolate chip cookie that’s sure to be a hit with everyone. These Rice Krispie Chocolate Chip Cookies are more than just a dessert—they’re moments in the making.
Now get into that kitchen and whip up a batch (or two), share them with loved ones, and revel in the joy of good food! Happy baking!
PrintRice Krispie Chocolate Chip Cookies

A delightful combination of chocolate chip cookies and Rice Krispies, offering a crunchy twist on a classic treat!
- Prep Time: 15 minutes
- Cook Time: 12 minutes
- Total Time: 27 minutes
- Yield: 24 servings 1x
- Category: Dessert
- Method: Baking
- Cuisine: American
- Diet: Vegetarian
Ingredients
- 2 cups Rice Krispies cereal
- 1 cup all-purpose flour
- 1/2 cup butter, softened
- 1 cup brown sugar, packed
- 1/2 cup granulated sugar
- 1 large egg
- 1 teaspoon vanilla extract
- 1/2 teaspoon baking soda
- 1/2 teaspoon salt
- 1 cup chocolate chips
Instructions
- Preheat the oven to 350°F (175°C).
- Cream the butter, brown sugar, and granulated sugar until light and fluffy.
- Add the egg and vanilla extract, mixing until smooth.
- Combine the flour, baking soda, and salt in a separate bowl.
- Gradually add the dry ingredients to the wet mixture, mixing gently.
- Fold in the Rice Krispies and chocolate chips.
- Scoop the dough onto baking sheets.
- Bake for 10-12 minutes until edges are golden.
- Cool on the baking sheet for 5 minutes before transferring to a wire rack.
Notes
For added flavor, consider mixing in nuts or dried fruits.
Nutrition
- Serving Size: 1 cookie
- Calories: 150
- Sugar: 10g
- Sodium: 100mg
- Fat: 7g
- Saturated Fat: 4g
- Unsaturated Fat: 2g
- Trans Fat: 0g
- Carbohydrates: 20g
- Fiber: 1g
- Protein: 2g
- Cholesterol: 30mg
Keywords: cookies, chocolate chip, Rice Krispies, dessert, baking